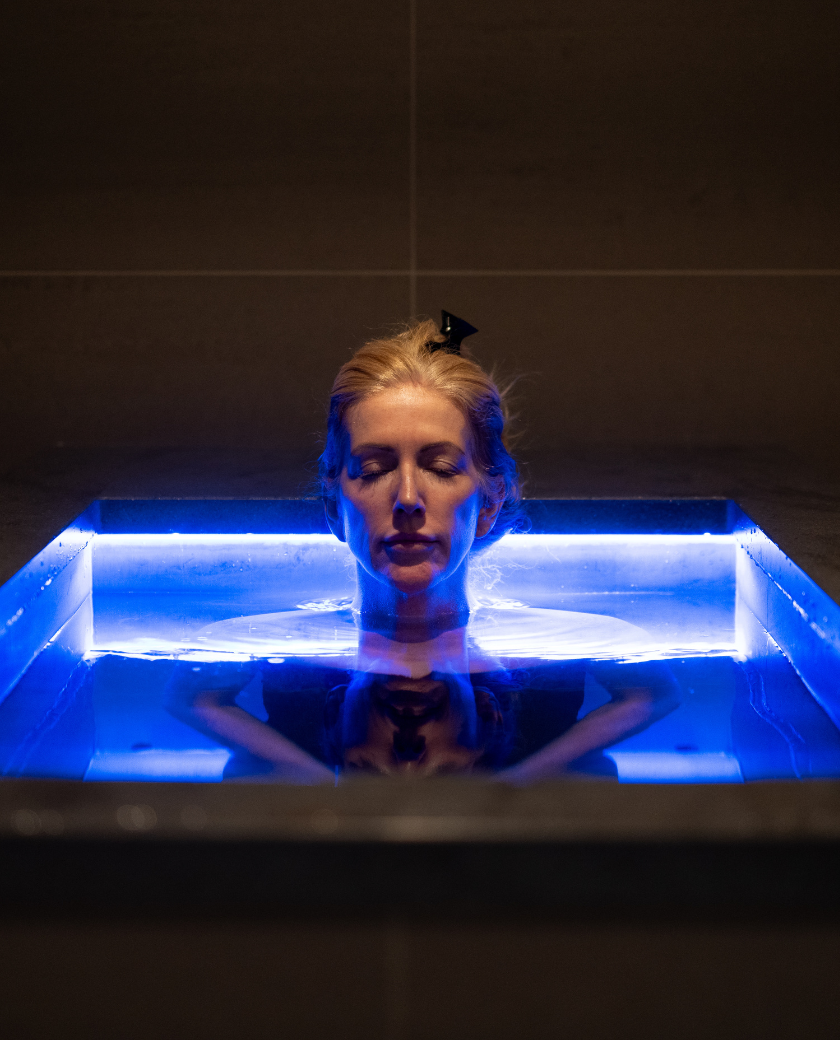
Ice baths: Everything you need to know before taking the plunge

Even though cold water therapy has been around since the Roman times, ice baths have gained huge popularity among athletes, wellness enthusiasts and celebrities in recent years due to their physical and mental health benefits. But before you plunge into freezing cold water, it's essential to understand the ins and outs first…
So, let’s explore the benefits, precautions, and tips to help you make the most of your first ice bath experience.
Benefits of ice baths
Ice baths offer several benefits for physical and mental well-being including reducing inflammation, accelerating muscle recovery, enhancing athletic performance and improving overall mood but we have a whole blog where you can learn all about that here.
Is the ice right for you?
Before diving straight into an ice bath like the daredevil you are, it's important to stop, take a moment and think about the, *some will say boring*, precautions and safety measures. If you have any pre-existing medical conditions, we’d advise you’d consult with a healthcare professional first. Unfortunately, we’re not doctors!
When you are starting your ice bath journey we’d recommend shorter dips, gradually building up your tolerance. Remember, it’s a marathon, not a race! It’s always good to have someone with you or use the app for a guided bath on your first dip.
Listen to your body, and if you experience any unusual or severe symptoms, hop out of the ice bath immediately. Ice baths are uncomfortable, that’s the point. We’re building resilience to discomfort. It should never be outright painful or make you feel unwell, however.
Ice bath technique
Whether you’re getting into a Brass Monkey bath or or taking an icy dip in the great outdoors, preparation is key!
Warm up beforehand: Engage in dynamic stretches to warm up your muscles and increase blood flow before entering the ice bath. Practise your breathwork and relax.
Enter the ice bath gradually: Approach the ice bath, take a deep breath, and slowly immerse yourself in the cold water. Focus on controlled breathing to manage the initial shock.
Control exposure time: Start with shorter durations, such as 30 seconds for a ‘professional’ ice bath and 2 minutes for a homemade DIY ice bath, and gradually increase as you become more accustomed to the cold. Listen to your body and adjust accordingly.
Warm up after the session: Once your desired time is complete, exit the ice bath and warm up with light movements and clothing.
Tips to enhance your experience
Test yourself: See how hard you can relax your shoulders and keep them down.
Engage in deep breathing exercises to help manage the initial discomfort and improve relaxation.
Consider incorporating contrast therapy by alternating between hot and cold water for added benefits. Remember, always finish cold and warm up naturally!
After the ice bath, perform light stretching or low-impact exercises such as a walk, gentle air squats, and lunges to promote blood circulation and aid in recovery.
So there you have it! You’ve got all the tools, prep and information you need to take your first ice bath. If you’re interested in learning more about the cold and its benefits, check out our cold guide. Be sure to give us a follow on Instagram too!


